Nuxt3とmicroCMSで作るブログシリーズの1番目の記事です。
今回は環境構築と簡単なトップページの表示を行っていきます。
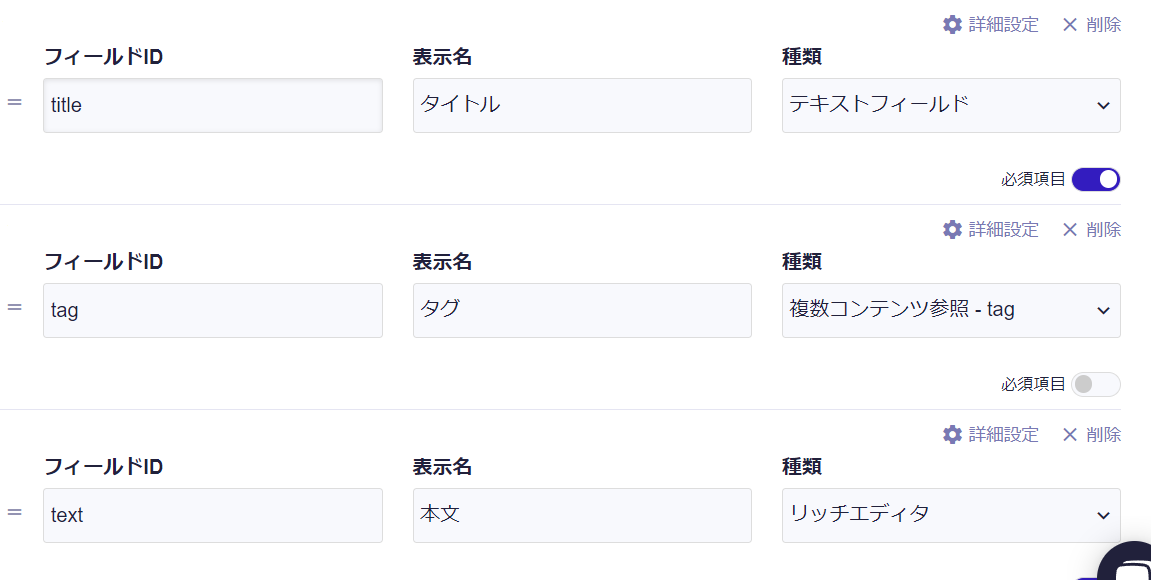
microCMSの設定
記事一覧とタグだけのシンプルな構成です。
タグは複数紐づけられるようにします。
タグAPI
API名:tag
エンドポイント:tag
APIスキーマ

記事API
API名:post
エンドポイント:post
APIスキーマ
環境構築
適当なディレクトリでnuxt3-blogという名前で開始します。
npx nuxi init nuxt3-blogNuxt2では対話的に色々設定を選択するのですが、Nuxt3ではすぐにプロジェクトが開始されます。
次にプロジェクトに移動して、yarnインストールします。
cd nuxt3-blog
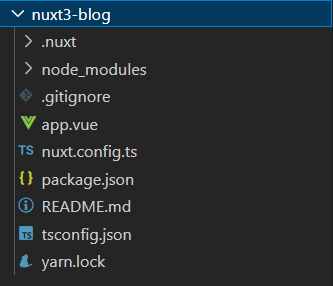
yarn installこの段階で以下のようなプロジェクト構成になります。
サーバーを起動させてみましょう。
yarn dev
...
i Vite client warmed up in 2037ms 21:53:32
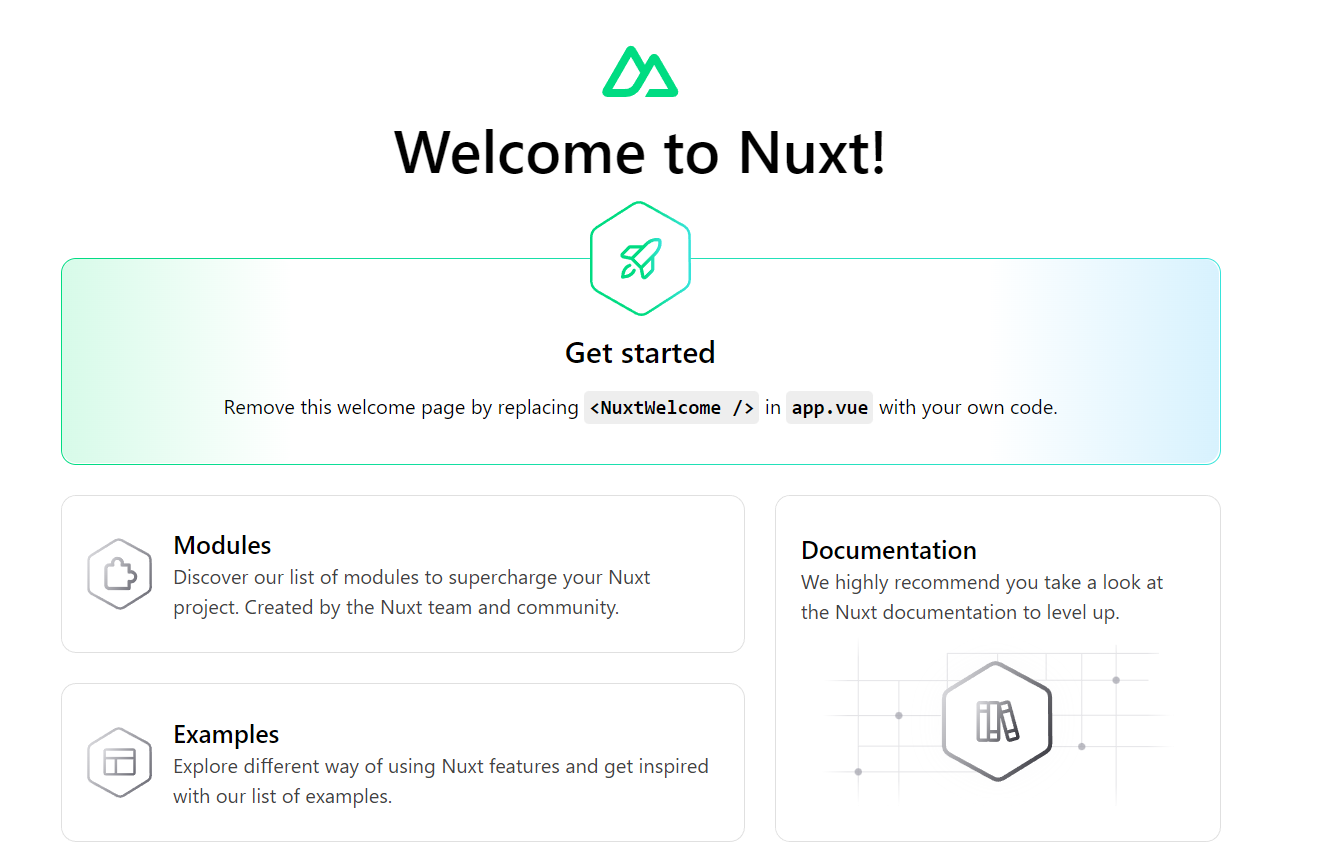
√ Nitro built in 576 mshttp://localhost:3000/ にアクセスしますと以下のようにトップページが表示されます。
microcms-js-sdkのインストール
microCMSのAPIリクエストに便利なmicrocms-js-sdkをインストールします。
https://www.npmjs.com/package/microcms-js-sdk
yarn add microcms-js-sdkプロジェクトの編集
初期設定としてプロジェクトフォルダの編集を行っていきます。
.envファイルの作成
API_KEY=your-microcms-api-key
SERVICE_DOMAIN=your-microcms-service-domainSERVICE_DOMAINですが、例えばhttps://foo-bar.microcms.io/というサービスURLを使用していましたら、foo-barと記入します。
srcディレクトリの作成
ブログアプリのソースコードは一か所にまとめると見栄えがよくなります。
今回はsrcディレクトリを作成します。
mkdir srcそうしましたらapp.vueをsrcディレクトリに移動させます。
cssファイルの作成
次にアプリ全体に読み込ませるcssファイルを作成します。
srcディレクトリにassetsディレクトリ、その中にcssディレクトリを作り、reset.cssとstyle.cssを作成します。
@charset "UTF-8";
/* src/assets/css/reset.css */

html, body, div, span, object, iframe,
h1, h2, h3, h4, h5, h6, p, blockquote, pre,
abbr, address, cite, code,
del, dfn, em, img, ins, kbd, q, samp,
small, strong, sub, sup, var,
b, i,
dl, dt, dd, ol, ul, li,
fieldset, form, label, legend,
table, caption, tbody, tfoot, thead, tr, th, td,
article, aside, canvas, details, figcaption, figure,
footer, header, hgroup, menu, nav, section, summary,
time, mark, audio, video {
  margin: 0;
  padding: 0;
  border: 0;
  outline: 0;
  font-size: 100%;
  vertical-align: baseline;
  background: transparent;
}

body {
  line-height: 1;
}

article, aside, details, figcaption, figure,
footer, header, hgroup, menu, nav, section {
  display: block;
}

nav ul {
  list-style: none;
}

blockquote, q {
  quotes: none;
}

blockquote:before, blockquote:after,
q:before, q:after {
  content: '';
  content: none;
}

a {
  margin: 0;
  padding: 0;
  font-size: 100%;
  vertical-align: baseline;
  background: transparent;
}

/* change colours to suit your needs */
ins {
  background-color: #ff9;
  color: #000;
  text-decoration: none;
}

/* change colours to suit your needs */
mark {
  background-color: #ff9;
  color: #000;
  font-style: italic;
  font-weight: bold;
}

del {
  text-decoration: line-through;
}

abbr[title], dfn[title] {
  border-bottom: 1px dotted;
  cursor: help;
}

table {
  border-collapse: collapse;
  border-spacing: 0;
}

/* change border colour to suit your needs */
hr {
  display: block;
  height: 1px;
  border: 0;
  border-top: 1px solid #cccccc;
  margin: 1em 0;
  padding: 0;
}

input, select {
  vertical-align: middle;
}
@charset "UTF-8";
/* src/assets/css/style.css */

html {
  font-size: 62.5%;
}

body {
  color: #333;
  font-size: 1.2rem;
  font-family: neue-haas-grotesk-text, noto-sans-cjk-jp, sans-serif;
  -webkit-text-size-adjust: 100%;
}

*,
*::before,
*::after {
  box-sizing: border-box;
}

a:link,
a:visited,
a:hover,
a:active {
  color: #d03c56;
  text-decoration: none;
}
nuxt.config.tsの編集
これで大体準備ができたので、nuxt.config.tsを編集していきます。
const { API_KEY, SERVICE_DOMAIN } = process.env;

export default defineNuxtConfig({
    srcDir: 'src/',
    runtimeConfig: {
        apiKey: API_KEY,
        serviceDomain: SERVICE_DOMAIN
    },
    css: ['~/assets/css/reset.css', '~/assets/css/style.css',],
})
faviconの設置
faviconはpublicディレクトリに設置するみたいです。
関係があるかは分かりませんが、記事の表示は正常に行えているのに、このようなエラーが出ることがありました。
[nuxt] [request error] serviceDomain or endpoint may be wrong.
おそらくですが、ページの読み込み時にhttp://localhost:3000/favicon.icoを参照してアイコンを取得しようとしたところ、
faviconがないため、存在しないルーティングにサーバーにリクエストを送ってしまうことで起きるバグだと思います。
srcディレクトリにpublicディレクトリを作成し、適当なfaviconを設置しておきましょう。
pagesディレクトリから表示する
Nuxt2と同様にpagesディレクトリを作成すると、動的なルーティングが簡単に行えます。
まず、app.vueを以下のようにします。
<!-- src/app.vue -->
<template>
    <NuxtPage />
</template>
次にpagesディレクトリを作り、その中にindex.vueを作成します。
<!-- src/pages/index.vue -->
<script setup lang="ts">
//後ほど追記
</script>

<template>
    <div>
        <h1 style="
        font-size:50px;
        text-align:center;
        margin:100px 0 auto;
        ">トップページ</h1>
    </div>
</template>
ヘッダー、フッターコンポーネントの作成
src内にcomponentsディレクトリを作り、Header.vueとFooter.vueを作ります。
<!-- src/components/Header.vue -->
<template>
  <header class="header wrapper">
    <nuxt-link :to='`/`'>
      <h1 class="title">
        Nuxt3 microCMS Blog
      </h1>
    </nuxt-link>
  </header>
</template>

<style scoped>
.header {
  padding: 20px 4% 20px;
  position: fixed;
  top: 0;
  width: 100%;
  background-color: #5ba9f7;
  display: flex;
  align-items: center;
  z-index: 10;
}

.wrapper {
  max-width: 100%;
  margin: 0 auto;
}

.title {
  font-size: 2rem;
  color: #fff;
  margin: 0;
  padding: 0;
  padding-bottom: 3px;
  line-height: 1.4em;
  justify-content: center;
  letter-spacing: 1px;
}

</style>
<!-- src/components/Footer.vue -->
<template>
    <footer class="footer">
        <div class="wrapper">
            <p class="text"><small>© 2022 qlitre</small></p>
        </div>
    </footer>
</template>

<style scoped>
.footer {
    background-color: #5ba9f7;
    text-align: center;
    padding: 26px 0;
}

.wrapper {
    max-width: 1100px;
    margin: 0 auto;
    padding: 0 4%;
}

.text {
    color: #fff;
    font-size: 1.2rem;
}
</style>
そうしましたらapp.vueでコンポーネントを読み込みます。
<!-- src/app.vue -->
<template>
  <Header />
  <NuxtPage />
  <Footer />
</template>
この段階でyarn devしてみましょう。
このように表示がされます。
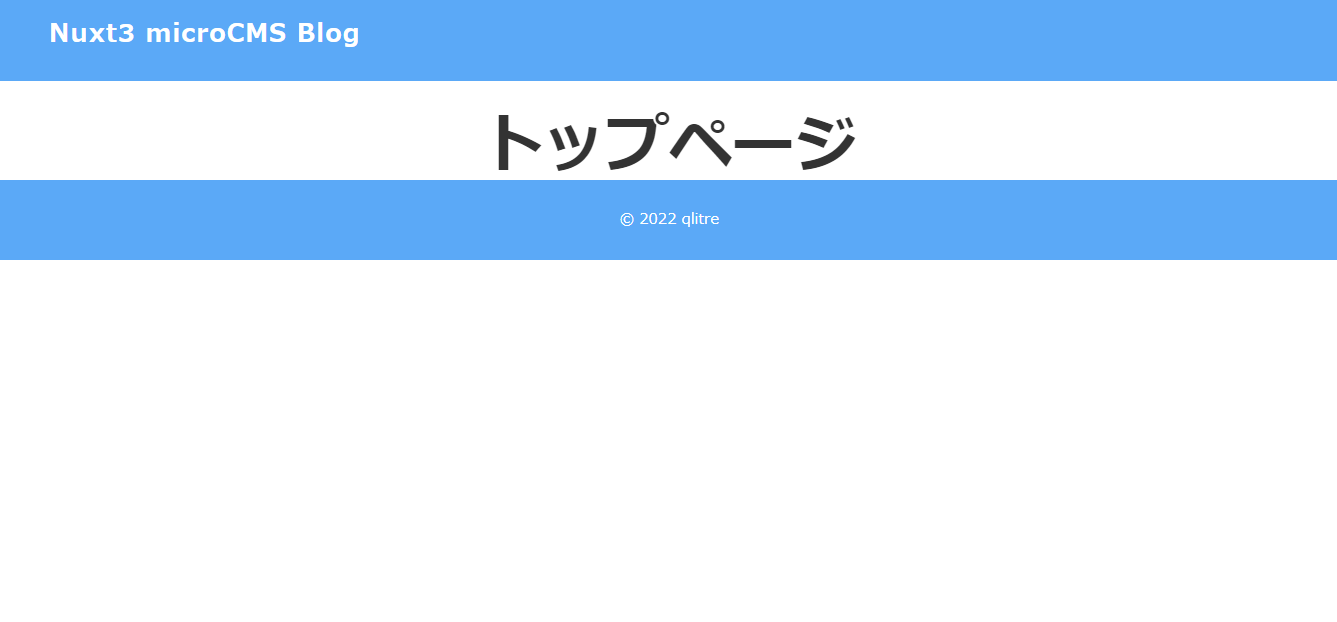
次回はトップページに記事一覧を表示させていきます。
 Share
Share