Nuxt.js + microCMS キーワード検索を実装する方法 (Netlify Function 使用)
公開日:2021-10-02 更新日:2023-06-06
このブログはNuxt.js + microCMS + NetlifyのSSR構成で静的配信しているのですが、キーワード検索の実装にてこずりました。
備忘を兼ねて、手順をまとめていきたいと思います。
全般的にmicroCMSブログのオープンソースを参考にしました。
https://github.com/microcmsio/microcms-blog
検索自体はmicroCMSのqパラメーターを使って行います。
公式のクエリ解説
https://document.microcms.io/content-api/get-list-contents
microCMSのNuxt.js用モジュールのインストール
前提として必要となるので、公式ブログを参考に導入しましょう。
処理の流れ
ざっくりと以下のような流れです。
- クライアントサイドからキーワード検索を実行
- Netlify Functionを呼び出す
- Netlify Functionから検索クエリを投げる(API KEYはサーバーから取得)
- 検索結果をクライアントサイドに表示
題材となるサイト
運営している日記サイトを題材に実装していきます。
トップページはこのような見た目です。
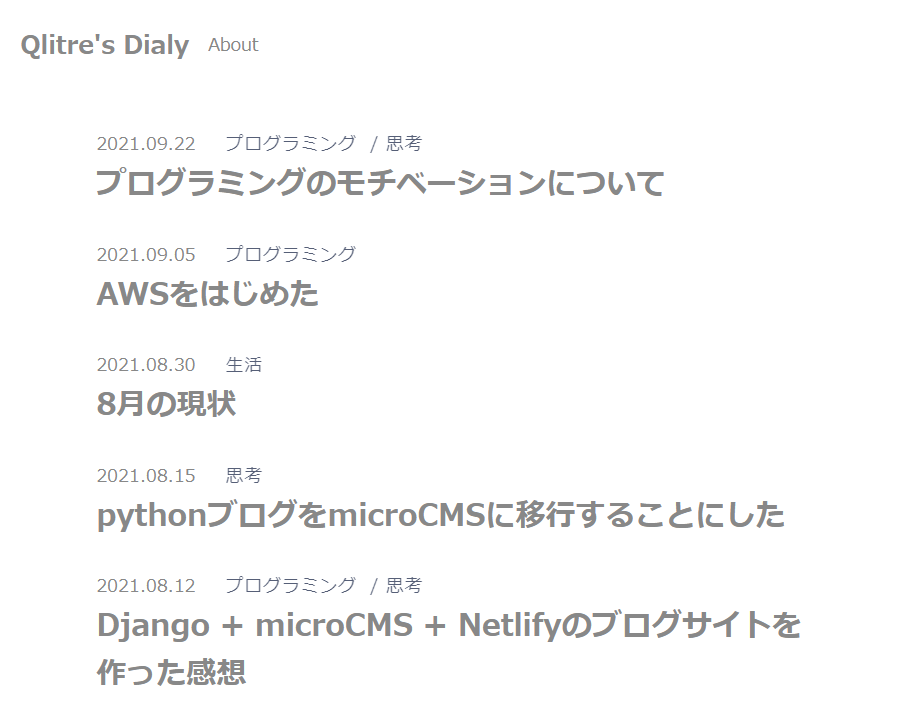
日付とタグとタイトルだけのシンプルな構成ですね。
ソースコードは以下のようになっています。
<!-- pages/index.vue -->
<template>
<div>
  <article v-for="post in posts" :key="post.id" style="margin-bottom:30px;" class="article">
      <span class="post-published">{{ post.publishedAt | formatDate }}</span>
      <span v-for="(tag, i) in post.tag" :key="tag.id" class="post-tag">{{ tag.name }}
        <span v-if="i !== post.tag.length-1" style="margin:0 5px;">/</span>
      </span>
      <nuxt-link :to="`/${post.id}`">
        <h1 class="post-title">
          {{ post.title }}
        </h1>
      </nuxt-link>
  </article>
  <index-pager :numPages="numPages" :current="current">
  </index-pager>
</div>
</template>

<script>
export default {
  async asyncData({
    $microcms,
    params
  }) {
    const limit = 10
    const page = params.p || '1'
    const data = await $microcms.get({
      endpoint: 'post',
      queries: {
        limit: limit,
        offset: (`${page - 1}`) * limit
      }
    })
    const numPages = Math.ceil(data.totalCount / limit);
    const current = params.p == undefined ? 1 : Number(params.p)
    return {
      posts: data.contents,
      numPages,
      current
    }
  },
}
</script>
検索フォームの作成
トップページに検索入力フォームを作っていきましょう。
まずはcomponentsディレクトリに検索フォームを作成していきます。
<!-- components/SearchForm.vue -->
<template>
<div>
  <form @submit.prevent="submit">
    <input type="text" v-model="query" ref="searchForm">
    <button class="search-btn" type="submit">
      検索
    </button>
  </form>
</div>
</template>

<script>
export default {
  name: 'SearchForm',
  data() {
    return {
      query: '',
    }
  },
  computed: {
    // 検索キーワードが有効な場合にtrueを返す
    canSubmit() {
      return !!this.query && // キーワードがないとだめ
        !/^\s+$/.test(this.query) // 空白のみはだめ
    }
  },
  methods: {
    submit() {
      if (this.canSubmit) {
        //検索が有効な場合に検索結果ページに遷移させる
        this.$router.push({
          path: '/search',
          query: {
            q: this.query
          }
        })
        this.query = ''
        this.$refs.searchForm.blur()
      }
    }
  }
}
</script>

<style scoped>

form{
  margin-bottom: 3rem;
}

input[type=text] {
  font-size: 1.2rem;
  padding: 4px 8px;
  width: 245px;
  box-sizing: border-box;
  border-radius: 20px;
  border: solid 1px #ccc;
  background-color: #fff;
  font-family: "Ubuntu", "Noto Sans JP", sans-serif;
}

input[type=text]:focus {
  outline: 0;
  box-shadow: 0 0 0 0.25rem rgba(13, 110, 253, 0.25);
}

button {
  font-size: 1.2rem;
  -webkit-appearance: none;
  padding: 4px 8px;
  border-radius: 4px;
  background-color: #fff;
  border: solid 1px #ccc;
  vertical-align: bottom;
  font-family: "Ubuntu", "Noto Sans JP", sans-serif;
  cursor: pointer;
}
</style>
検索キーワードを変数queryとバインドさせておき、有効な場合は検索結果ページに遷移するという処理です。
作成したらこのtemplateをトップページで読み込みましょう。
<!-- pages/index.vue -->
<template>
<div>
<!-- 読み込み -->
<search-form/>
  <article v-for="post in posts" :key="post.id" style="margin-bottom:30px;" class="article">
      ...省略
  </article>
  <index-pager :numPages="numPages" :current="current">
  </index-pager>
</div>
</template>
...省略
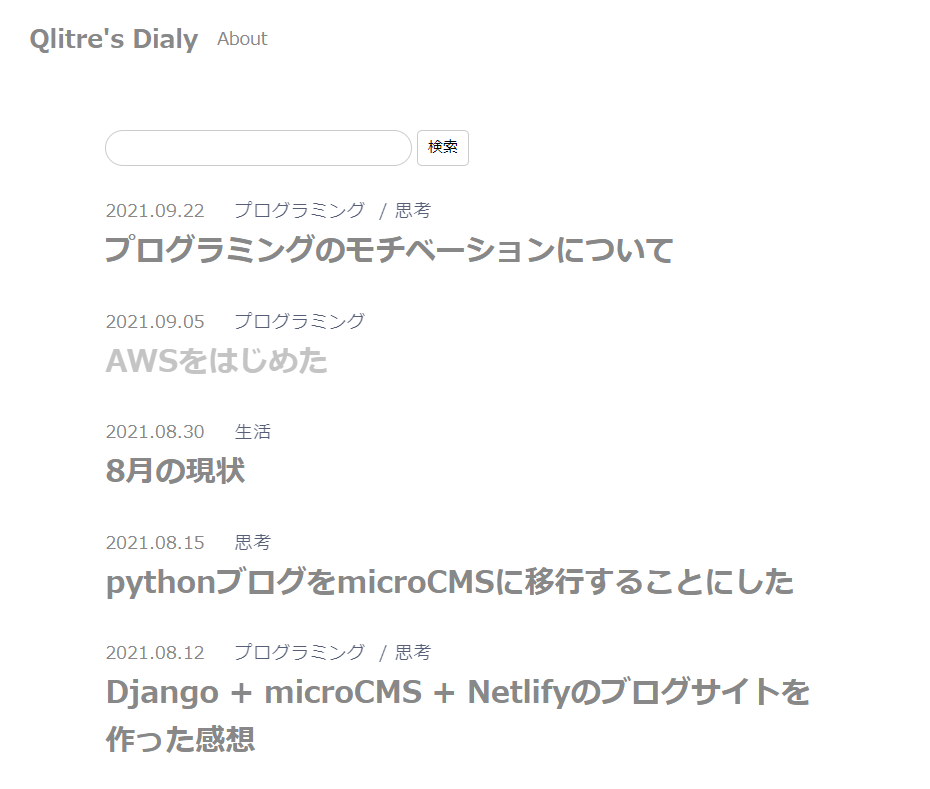
ここまででこのような見た目になりました。
必要ライブラリのインストール
ここから以下のライブラリが必要になるので、インストールしておきましょう。
$ npm install --save microcms-js-sdk
$ npm install -D netlify-lambda
$ npm install --save @nuxtjs/dotenv
$ npm i -S @nuxtjs/proxy
クライアントサイドから、検索クエリを飛ばす際に、API KEYはサーバーサイドから取得する必要があります。
ここら辺の部分をうまくやってくれるのが、microcms-js-sdkライブラリとNetlify Functionです。
それと、サーバーサイドからAPI KEY等の秘匿情報を取得するための、dotenvが必要となります。
proxyは開発環境で検索用のサーバーを立ち上げるのに必要です。
環境準備
この辺りの環境準備については公式ブログを参考にしました。
プレビュー画面の実装の記事ですが、Netlify Functionについての解説がされています。
まずはnetlify functionをコマンドから呼び出せるようにpackage.jsonを編集します。
// package.json
{
  "name": "blog",
  "version": "1.0.0",
  "private": true,
  "scripts": {
    "dev": "nuxt",
    "build": "nuxt build",
    "start": "nuxt start",
    "generate": "nuxt generate",
  // 追記
    "functions:build": "netlify-lambda build functions/",
    "functions:serve": "netlify-lambda serve functions/"
  },
//省略
次にnetlify.tomlファイルをプロジェクトのトップディレクトリに作成します。
これを配置しておくことで、デプロイ時にfunctionファイルのデプロイ先を指定ができるようになります。
// netlify.toml
[build]
  functions = "dist/api"
次にutilsディレクトリを作成し、microcms.jsファイルを作成します。
// utils/microcms.js
const { createClient } = require('microcms-js-sdk');
require('dotenv').config();
const {
  API_KEY,
  SERVICE_DOMAIN
} = process.env;
export const client = createClient({
  serviceDomain: SERVICE_DOMAIN,
  apiKey: API_KEY,
});
次に開発環境からNetlify Functionを呼び出せるようにnuxt.config.jsを編集しましょう
 // nuxt.config.js

  //省略
  modules: [
    '@nuxtjs/proxy',
  ],
  proxy: {
    '/.netlify': 'http://localhost:9000'
  },
 //省略
検索用のjsファイルの作成
実際に検索クエリを実行するjsファイルを作成していきます。
こちらはクライアントから呼び出されてサーバーとの橋渡しをするようなイメージでしょうか。
トップページにfunctionsディレクトリを作成し、search.jsを配置します。
ここはmicroCMSのオープンソースと同じです。
// functions/search.js

const { client } = require('../utils/microcms');

// eslint-disable-next-line require-await
exports.handler = async (event) => {
  const { q } = event.queryStringParameters;
  if (!q) {
    return {
      statusCode: 400,
      body: JSON.stringify({
        error: 'Missing "q" query parameter',
      }),
    };
  }
  return client
    .get({
      endpoint: 'post',
      queries: { q },
    })
    .then((data) => {
      return {
        statusCode: 200,
        body: JSON.stringify(data),
      };
    })
    .catch((error) => ({
      statusCode: 400,
      body: String(error),
    }));
};
冒頭で以下のようにすることで、先ほど作成したmicrocms.jsを呼び出しています。
const { client } = require('../utils/microcms');
search.vueの作成
pagesディレクトリにsearch.vueを作成します。
最初の方で作成したSearchForm.vueから遷移して検索結果を表示するページです。
こちらから作成したsearch.jsを呼び出して、結果を受け取り、表示させる、というようなイメージです。
ここもmicroCMSのオープンソースのコードをほぼ借用しています。
ちょっと長いです。
<!-- pages/search.vue -->
<template>
<div>
  <!-- 検索フォーム -->
  <div class="search-form">
    <input v-model="q"
    type="text"
    @keyup.enter="(e) => search(e.target.value)"
    @keypress="setSearchable" />
  </div>

  <!-- 検索結果件数 -->
  <p class="search-result"> {{ totalCount }}件の検索結果</p>

  <!-- 記事一覧 -->
  <article v-for="post in contents" :key="post.id" style="margin-bottom:30px;" class="article">
    <span class="post-published">{{ post.publishedAt | formatDate }}</span>
    <span v-for="(tag, i) in post.tag" :key="tag.id" class="post-tag">{{ tag.name }}
      <span v-if="i !== post.tag.length-1" style="margin:0 5px;">/</span>
    </span>
    <nuxt-link :to="`/${post.id}`">
      <h1 class="post-title">
        {{ post.title }}
      </h1>
    </nuxt-link>
  </article>

</div>
</template>

<script>
import axios from 'axios'

export default {
  data() {
    return {
      contents: this.contents || [], // 検索結果の配列
      totalCount: this.totalCount || 0, // 検索結果件数の表示用
      q: this.$route.query.q, // SearchForm.vueから渡されるクエリ
      searchable: true, // この画面から検索した際の制御
    };
  },

  async created() {
    const query = this.$route.query;
    if (query.q === undefined) {
      return;
    }
    // 検索可能ならsearchメソッド実行
    this.search(query.q);
  },
  methods: {
    setSearchable() {
      this.searchable = true;
    },
    async search(q = '') {
      if (!q.trim() || !this.searchable) {
        return;
      }

      const { data, error } = await axios
        // search.jsにクエリを渡して呼び出す
        .get(`/.netlify/functions/search?q=${q}`)
        .catch((error) => ({
          error
        }));
      if (error) {
        return;
      }
      this.contents = data.contents;
      this.totalCount = data.totalCount;
      this.searchable = false;
    }
  }
}
</script>
<style scoped>

.search-form {
  margin-top: 2rem;
  position: relative;
}

input[type=text] {
  border: 1px solid #ccc;
  width: 100%;
  box-sizing: border-box;
  border-radius: 5px;
  height: 40px;
  font-size: 16px;
  padding-left: 10px;
  box-shadow: none;
  -webkit-appearance: none;
  transition: box-shadow 0.2s ease;
}

input[type=text]:focus {
  outline: 0;
  box-shadow: 0 0 0 0.25rem rgba(13, 110, 253, 0.25);
}

.search-result {
  margin-top: 3rem;
  font-size: 1.4rem;
  color: #6F959E;
  margin-bottom: 3rem;
}

.article {
  margin-bottom: 6rem;
  width: 100%;
}

.post-published {
  font-size: 1.4rem;
  color: #888;
  margin-right: 20px;
}

.post-title {
  margin-top: 6px;
  font-size: 2.4rem;
  color: #888;
  line-height: 1.6;
  font-weight: bold;
}

.post-title:hover {
  opacity: .5;
}

.post-tag {
  font-size: 1.4rem;
  color: 888;
  opacity: 0.7;
  letter-spacing: 1px;
}
</style>
検索フォームからキーワードを指定して検索が実行されると、
http://.../search?q=hogehogeというurlでこちらの画面に遷移します。
q=の後の部分はthis.$route.query.qとすることで取り出せます。
export default {
  data() {
    return {
      contents: this.contents || [], // 検索結果の配列
      totalCount: this.totalCount || 0, // 検索結果件数の表示用
   //ここ
      q: this.$route.query.q, // SearchForm.vueから渡されるクエリ
      searchable: true, // この画面から検索した際の制御
    };
  },
上記の例でいうとhogehogeを受け取ることになります
後は以下の部分でhogehogeを渡してfunctionsのsearch.jsを呼び出します。
const { data, error } = await axios
        // search.jsにクエリを渡して呼び出す
        .get(`/.netlify/functions/search?q=${q}`)
        .catch((error) => ({
          error
        }));
ここですね。
nuxt.config.jsのproxyの設定により開発環境では、http://localhost:9000/.netlify/functions/search?q=hogehogeから値を取得しているということになります。
後はfunctions内のsearch.jsがサーバーサイドからAPI KEYを取得して、コンテンツを返してくれるという流れです。
開発環境で実行
実際に開発環境で実行してみましょう。
まずはコマンドラインから検索用のサーバーを立ち上げます。
$ npm run functions:serve
>>>
...
Lambda server is listening on 9000
色々とでてきますが、このようになれば無事に立ち上がっています。
検索用のサーバーを起動したまま、別コマンドラインからnpm run devをして、開発用のサーバーを立ち上げます。
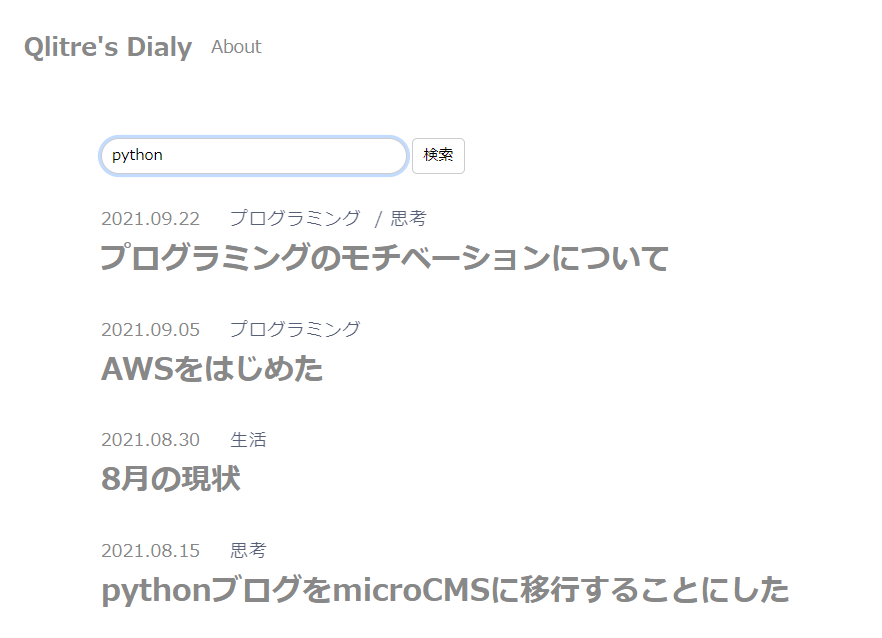
トップページからpythonと入力して検索をしてみます。
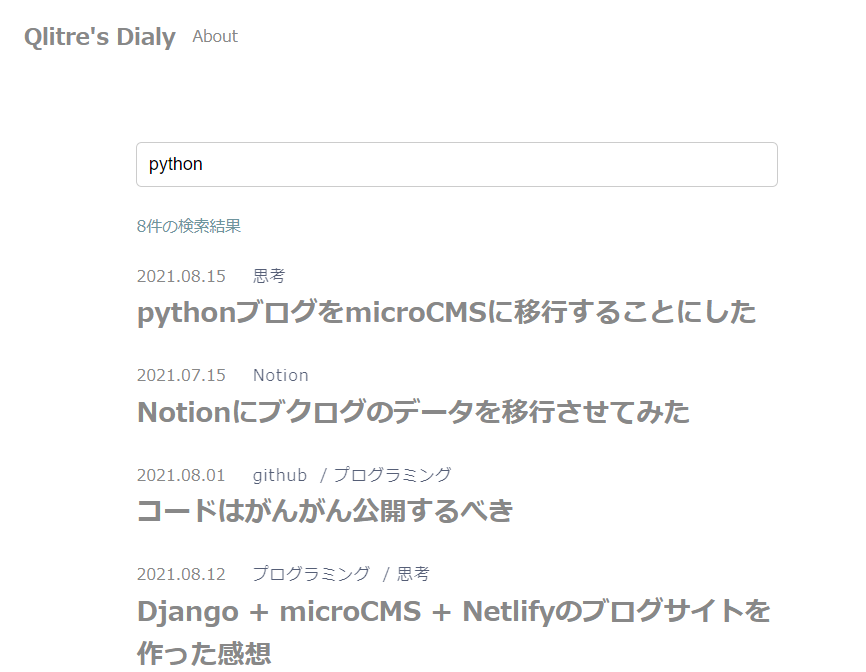
そうするとpages/search.vueに遷移して検索結果が表示されます。
本番環境にデプロイ
後は本番環境にデプロイします。
Build commandにnpm run functions:buildを加えます。
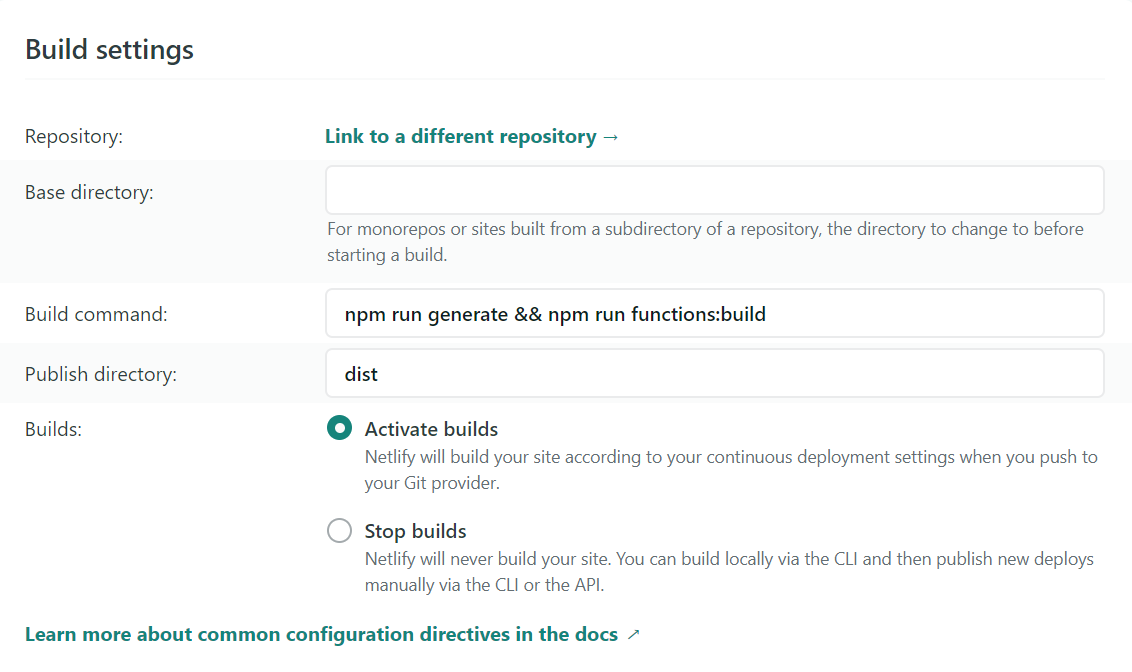
あとはdeploy時に配置されたnetlify.tomlファイルからsearch.jsを配置してくれます。
デプロイが失敗する場合
環境によると思いますが、私の場合は初回に失敗しました。
// netlify deploy log
...省略
1:17:18 PM: Error message
1:17:18 PM: A Netlify Function failed to require one of its dependencies.
1:17:18 PM: Please make sure it is present in the site's top-level "package.json".
1:17:18 PM: In file "/opt/build/repo/dist/api/search.js"
1:17:18 PM: Cannot find module 'encoding'
...省略
encoding処理が必要だけど、package.jsonにないから追加してねってことだと思います。
// package.json
"dependencies": {
    // 省略…
    "encoding": "^0.1.13",
  // 省略…
  },
こちらの記述を追加するとうまくいきました。
Functionsファイルの配置確認
デプロイが完了するとFunctionsにsearch.jsが配置されたことがわかります。
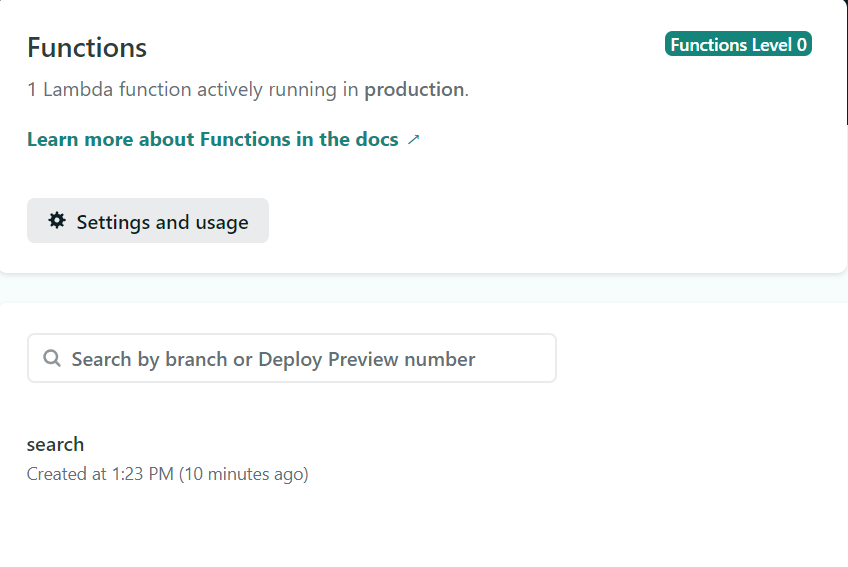
本番環境から同じことができるか試してみると良いでしょう。
その他 ローディングの実装
現状ですと、検索が実行されて結果が返ってくるまでに時間がかかるので、変な感じです。
検索結果が返ってくるまでの間にローディングを表示するようにしましょう。
こういうくるくる回るやつです。
いろいろやり方はあると思いますが、vue-loading-templateを使ってやってみます。
$ npm install --save vue-loading-template
pluginsディレクトリにVueLoading.jsを作ります。
// plugins/VueLoading.js
import Vue from 'vue'
import { VueLoading } from 'vue-loading-template'

Vue.component('vue-loading', VueLoading)
nuxt.config.jsに追記します。
// nuxt.config.js
...省略
plugins: [
    {
      src: '~/plugins/VueLoading',
      ssr: false
    }
  ],
...省略
loading表示のtemplateをcomponents内に用意します。
<!-- components/Loading.vue -->
<template>
<div>
  <div>
    <div class="loading-spacer" />
    <client-only>
      <vue-loading type="spiningDubbles" color="#aaa" :size="{ width: '80px', height: '80px' }" />
    </client-only>
  </div>
</div>
</template>

<script>
export default {
  name: 'Loading'
}
</script>

<style>
.loading-spacer {
  height: 30%;
}
</style>
最後にseach.vueを以下のように変えます。
<!-- pages/search.vue -->
<template>
<div>
  <!-- 検索フォーム -->
  <div class="search-form">
    <input v-model="q" type="text" @keyup.enter="(e) => search(e.target.value)" @keypress="setSearchable" />
  </div>

  <!-- 読み込み中はローディングを表示 -->
  <loading v-show="loading" />
  <!-- 読み込み終了後は検索結果を表示 -->
  <div v-show="!loading">
    <!-- 検索結果件数 -->
    <p class="search-result"> {{ totalCount }}件の検索結果</p>

    <!-- 記事一覧 -->
    <article v-for="post in contents" :key="post.id" style="margin-bottom:30px;" class="article">
      <span class="post-published">{{ post.publishedAt | formatDate }}</span>
      <span v-for="(tag, i) in post.tag" :key="tag.id" class="post-tag">{{ tag.name }}
        <span v-if="i !== post.tag.length-1" style="margin:0 5px;">/</span>
      </span>
      <nuxt-link :to="`/${post.id}`">
        <h1 class="post-title">
          {{ post.title }}
        </h1>
      </nuxt-link>
    </article>
  </div>
</div>
</template>

<script>
import axios from 'axios'

export default {
  data() {
    return {
      contents: this.contents || [],
      totalCount: this.totalCount || 0,
      q: this.$route.query.q,
      searchable: true,
      // 追加
      loading: true,
    };
  },
  async created() {
    const query = this.$route.query;
    if (query.q === undefined) {
      return;
    }
    this.search(query.q);
  },
  methods: {
    setSearchable() {
      this.searchable = true;
    },
    // 追加 loadingの制御
    loadingStart() {
      this.loading = true
    },
    // 追加
    loadingFinish() {
      this.loading = false
    },
    async search(q = '') {
      if (!q.trim() || !this.searchable) {
        return;
      }
      // 検索開始時にloadingをtrueにする
      this.loadingStart();
      const {
        data,
        error
      } = await axios
        .get(`/.netlify/functions/search?q=${q}`)
        .catch((error) => ({
          error
        }));
      // コンテンツ取得後にloadingをfalse
      this.loadingFinish();
      if (error) {
        return;
      }
      this.contents = data.contents;
      this.totalCount = data.totalCount;
      this.searchable = false;
    }
  }
}
</script>
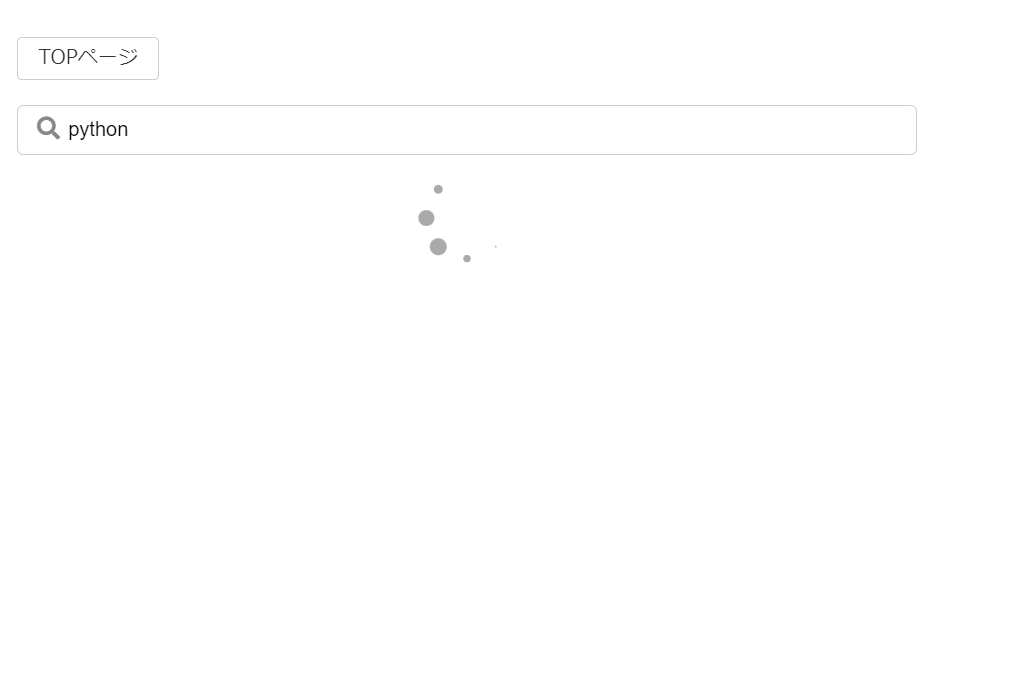
これで検索結果が表示されるまではくるくる回るアイコンが出るようになります。
 Share
Share