Python DjangoとMDBで作る株取引ノートシリーズの2つ目の記事です。
今回はトップページを作成していきます。
ベーステンプレートの作成
MDBフレームワークを使用しているので、基本的にcssは書かないですが、一部使用する場面もあります。
なので、このタイミングでcssファイルを作成しておきましょう。
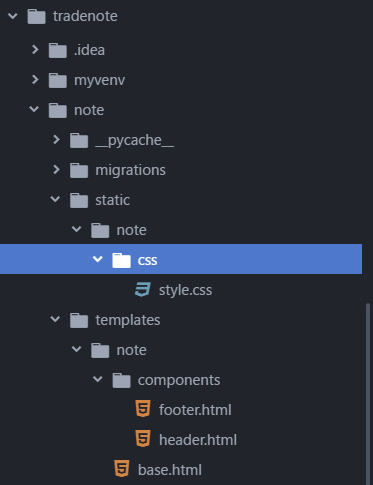
noteディレクトリ内にstatic→note→css→style.cssという風に作成します。
中身は空で大丈夫です。
次にnoteディレクトリにtemplates→noteとディレクトリを作成し、base.htmlを作成します。
<!-- note/templates/note/base.html -->
{% load static %}

<!doctype html>
<html lang="ja">

<head>
  <!-- Required meta tags -->
  <meta charset="UTF-8">
  <meta http-equiv="Content-Type" content="text / html; charset = utf-8" />
  <title>Trade Note</title>
  <!-- Font Awesome -->
  <link href="https://cdnjs.cloudflare.com/ajax/libs/font-awesome/5.15.1/css/all.min.css" rel="stylesheet" />
  <!-- Google Fonts -->
  <link href="https://fonts.googleapis.com/css?family=Roboto:300,400,500,700&display=swap" rel="stylesheet" />
  <!-- MDB -->
  <link href="https://cdnjs.cloudflare.com/ajax/libs/mdb-ui-kit/3.10.1/mdb.min.css" rel="stylesheet" />

  <link rel="stylesheet" href="{% static 'note/css/style.css' %}">
</head>

<body>
  <div class="container pt-5 pb-5">
    {% block content %}{% endblock %}
  </div>

  <!-- MDB -->
  <script type="text/javascript" src="https://cdnjs.cloudflare.com/ajax/libs/mdb-ui-kit/3.10.1/mdb.min.js"></script>
  {% block extrajs %}{% endblock %}
</body>

</html>
ヘッダー、フッターの作成
次にヘッダーとフッターを作成していきます。
base.htmlに直接書きこんでもいいのですが、適宜コンポーネント化して読み込むようにしましょう。
その方が後々に管理がしやすくなります。
note→templates→note内にcomponentsディレクトリを作成し、その中にheader.htmlとfooter.htmlを作成します。
<!-- note/templates/note/components/header.html -->

<nav class="navbar navbar-expand-lg navbar-light bg-light">
  <div class="container">
    <a class="navbar-brand" href="/">Trade Note</a>
    <button class="navbar-toggler" type="button" data-mdb-toggle="collapse" data-mdb-target="#navbarNav" aria-controls="navbarNav" aria-expanded="false" aria-label="Toggle navigation">
      <i class="fas fa-bars"></i>
    </button>
    <div class="collapse navbar-collapse" id="navbarNav">
      <ul class="navbar-nav">
        <li class="nav-item">
          <a class="nav-link" href="/admin">Admin</a>
        </li>
      </ul>
    </div>
  </div>
</nav>
<!-- note/templates/note/components/footer.html -->

<footer class="bg-light text-center text-lg-start">
  <div class="text-center p-3" style="background-color: rgba(0, 0, 0, 0.2);">
    © 2021 qlitre
  </div>
</footer>
次にbase.htmlでこれらを読み込みましょう。
<!-- note/templates/note/base.html -->

...
<body>
  <!-- header -->
  {% include "note/components/header.html" %}

  <div class="container pt-5 pb-5">
    {% block content %}{% endblock %}
  </div>

  <!-- footer -->
  {% include "note/components/footer.html" %}
...

</body>
ディレクトリですが、このようになっていると思います。
トップページの表示
簡単にトップページを表示させていきます。
まずはアプリ内のurls.pyに追加します。
# note/urls.py

from django.urls import path
from . import views

app_name = 'note'

urlpatterns = [
    path('', views.TransactionList.as_view(), name='transaction_list'), # 追加
]
views.pyを以下のようにします。
# note/views.py

from django.views import generic
from .models import Transaction


class TransactionList(generic.ListView):
    model = Transaction
    template_name = 'note/index.html'
次にindex.htmlを作成します。
<!-- note/templates/note/index.html -->

{% extends "note/base.html" %}
{% block content %}

<h1>ここはトップページ</h1>

{% endblock %}
ここまで作ったらとりあえずrunserverして確認してみましょう。
以下の写真のようになっているはずです。
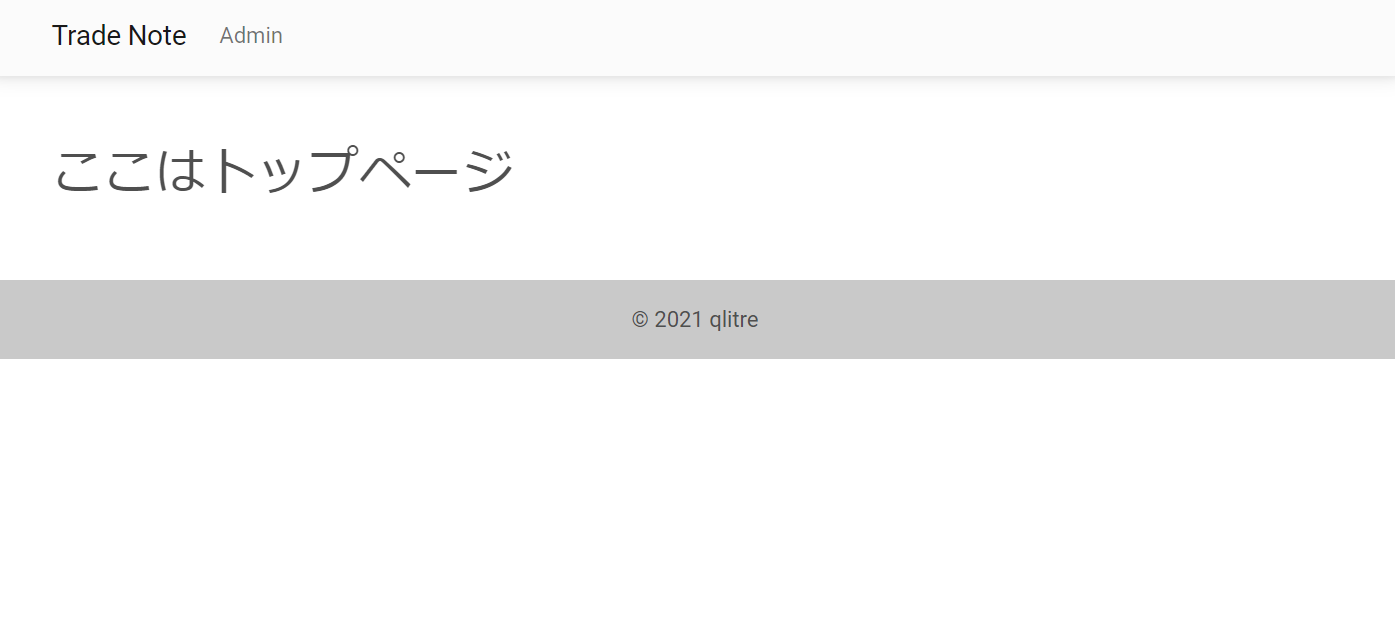
次回以降に実際にページを作りこんでいきます。
 Share
Share