「Django + microCMSでつくるブログサイト」シリーズの5番目の記事です。
今回はタグでの絞り込み検索を実装します。
GETリクエストの送り方
microCMSのGETリクエストでは絞り込み検索を`filters`パラメーターを使って行えます。
ここも公式ブログを参考にしましょう。
filters: コンテンツを絞り込んで取得できるようになりました
今回はタグでの絞り込みをしたいですが、記事APIのタグフィールドは複数参照としています。
注意点は複数参照としている場合はcontainsを使うことです。
複数のコンテンツ参照では使用できるのは [contains] のみです。また、以下の例のように値部分にはコンテンツのidが入ります
例えばタグのIDがhogehogeのタグ名Pythonが含まれる記事を取得する際のリクエストURLは下記のようになります。
https://your-service-id.microcms.io/api/v1/post?filters=tag[contains]hogehoge
ページャーとの関係
前回の記事でページネーションを実装しました。
考えなければいけないのは、通常の記事一覧とタグで絞り込まれている際の記事一覧を別に処理する、ということです。
例えば5つ記事がある、3つの記事にPythonのタグがついている、1ページに2つの記事を表示するとしている、といった場合で考えます。
通常の記事一覧では1,2,3と3ページ分のページ送りが必要です。
Pythonが選択されている際は、1,2の2ページ分のページ送りとなります。
URLパターンの追記
今回も明示的にurlパターンを作ります。
# blog/urls.py
from django.urls import path
from . import views

app_name = 'blog'

urlpatterns = [
  path('', views.post_list, name='index'),
  path('page/<str:page>/', views.post_list, name='index_with_page'),
  path('tag/<str:tag_id>/page/<str:page>/', views.post_list, name='index_with_tag'), # 追加
  path('post/<slug:slug>/', views.post_detail, name='post_detail')
]
ページとセットでURLを指定する形です。
viewの編集
次にviews.pyを以下のようにします。
テンプレートにタグの一覧をわたしておくようにします。
そうして、タグがクリックされたら、タグIDを受け取り、絞り込みリクエストを実行する形です。
# blog/views.py

from django.shortcuts import render
import requests
from django.conf import settings
from django.http import Http404
import math

def post_list(request, **kwargs):
  """記事一覧"""
  limit = 2
  current_page = kwargs.get('page', 1)
  offset = (int(current_page) - 1) * limit

  end_point = f'/post?limit={limit}&offset={offset}'

  # タグIDが渡された場合はエンドポイントを更新
  tag_id = kwargs.get('tag_id', None)
  if tag_id:
    end_point += f'&filters=tag[contains]{tag_id}'

  url = getattr(settings, "BASE_URL", None)
  api_key = getattr(settings, "API_KEY", None)
  headers = {'X-API-KEY': api_key}
  res = requests.request(method='GET',
              url=url + end_point,
              headers=headers)

  # タグの一覧を取得
  tags_res = requests.request(method='GET',
                url=url + '/tag',
                headers=headers)
  # 名前昇順で並び替え
  tag_list = tags_res.json()['contents']
  tag_list.sort(key=lambda x: x['name'])

  total_count = res.json()['totalCount']
  num_page = math.ceil(total_count / limit)
  context = {
    'post_list': res.json()['contents'],
    'num_page': range(1, num_page + 1),
    'current_page': int(current_page),
    'last_page': num_page,
    # トップページの一覧用
    'tag_list': tag_list,
    # ページャーの処理用
    'tag_id': tag_id
  }

  return render(request, 'blog/index.html', context)
タグの一覧GETについて、microCMSにはorderパラーメーターで並び替えもできるのですが、下記のフィールドにしか対応していません。
- 日付
- 真偽値(true or false)
- 数値
なので、key引数を用いて、名前の順で並び替えたうえでテンプレートに渡すようにしています。
トップページでの一覧表示
components内にsearch-tag.htmlを作成します。
<!-- blog/templates/blog/components/search-tag.html -->

<div style="margin-bottom:6rem;">
 <h2 class="tag-heading">タグ一覧</h2>
 <div class="inline">
  {% for tag in tag_list %}
   <span>
    {% if tag.id == tag_id %}
     <a href="{% url 'blog:index' %}" class="tag-badge tag-active">{{ tag.name }}</a>
    {% else %}
     <a href="{% url 'blog:index_with_tag' tag.id 1 %}" class="tag-badge">{{ tag.name }}</a>
    {% endif %}
   </span>
  {% endfor %}
 </div>
</div>
タグが選択されている場合とそうでない場合に分けます。
選択中のタグがクリックされたら通常の一覧画面に戻る仕様です。
<!-- blog/templates/blog/index.html -->

{% extends "blog/base.html" %}
{% load blog %}

{% load static %}
{% block content %}

<div class="container" style="padding-top:112px;">
 <!-- 読み込み -->
 {% include "blog/components/search-tag.html" %}

 {% for post in post_list %}
  <article class="article">
	 ...省略
  </article>
 {% endfor %}

 {% include "blog/components/pagination.html" %}

</div>
{% endblock %}
pagerの編集
pagination.htmlを編集します。
ちょっとかっこ悪いですが、タグが選択されている場合とそうでない場合で、まるまるブロックを切り替えます。
タグが選択されている場合(=tag_idがテンプレートに存在したら)、新たに作成したURLパターンを適用してページ送りします。
<!-- blog/templates/blog/components/pagination.html -->

<!-- タグが選択されている場合 -->
{% if tag_id %}
 <div class="pagination">
  <ul>
   {% if current_page == 1 %}
    <span class="pagination-link prev-off"><li><</li></span>
   {% else %}
    <a href="{% url 'blog:index_with_tag' tag_id current_page|add:'-1' %}" class="pagination-link"><li><</li></a>
   {% endif %}

   {% for num in num_page %}
    {% if num == current_page %}
     <span class="pagination-link is-active"><li>{{ num }}</li></span>
    {% else %}
     <a href="{% url 'blog:index_with_tag' tag_id num %}" class="pagination-link"><li>{{ num }}</li></a>
    {% endif %}
   {% endfor %}

   {% if current_page == last_page %}
    <span class="pagination-link next-off"><li>></li></span>
   {% else %}
    <a href="{% url 'blog:index_with_tag' tag_id current_page|add:'+1' %}" class="pagination-link"><li>></li></a>
   {% endif %}
  </ul>
 </div>

<!-- 選択されていない場合は通常のページ送り -->
{% else %}
 <div class="pagination">
  <ul>
   {% if current_page == 1 %}
    <span class="pagination-link prev-off"><li><</li></span>
   {% else %}
    <a href="{% url 'blog:index_with_page' current_page|add:'-1' %}" class="pagination-link"><li><</li></a>
   {% endif %}

   {% for num in num_page %}
    {% if num == current_page %}
     <span class="pagination-link is-active"><li>{{ num }}</li></span>
    {% else %}
     <a href="{% url 'blog:index_with_page' num %}" class="pagination-link"><li>{{ num }}</li></a>
    {% endif %}
   {% endfor %}

   {% if current_page == last_page %}
    <span class="pagination-link next-off"><li>></li></span>
   {% else %}
    <a href="{% url 'blog:index_with_page' current_page|add:'+1' %}" class="pagination-link"><li>></li></a>
   {% endif %}
  </ul>
 </div>

{% endif %}
スタイルの編集
/* blog/static/css/style.css */
@charset "UTF-8";

...省略

/* --------------------------------
 * 検索タグ
 * -------------------------------- */
.tag-heading {
 font-size: 1.6rem;
 margin-bottom: 1rem;
 color: #888;
 letter-spacing: 1px;
}

.inline {
 margin: 10px 0;
 overflow-x: auto;
 white-space: nowrap;
 -webkit-overflow-scrolling: touch;
 padding: 0;
}

.inline::-webkit-scrollbar {
 width: 10px;
}

.inline::-webkit-scrollbar-track {
 background: #fff;
 border: none;
 border-radius: 10px;
 box-shadow: inset 0 0 2px #777;
}

.inline::-webkit-scrollbar-thumb {
 background: #ccc;
 border-radius: 10px;
 box-shadow: none;
}

.tag-badge {
 display: inline-block;
 border-radius: 4px;
 text-align: center;
 border: solid 1px #ccc;
 padding: 4px 16px;
 cursor: pointer;
 font-size: 1.4rem;
 margin: 3px;
 letter-spacing: 1.5px;
}

.tag-badge:hover {
 background-color: #888;
 color: #fff;
 opacity: .6;
}

a.tag-active {
 background-color: #888;
 color: #fff;
}

...省略
ページのイメージ
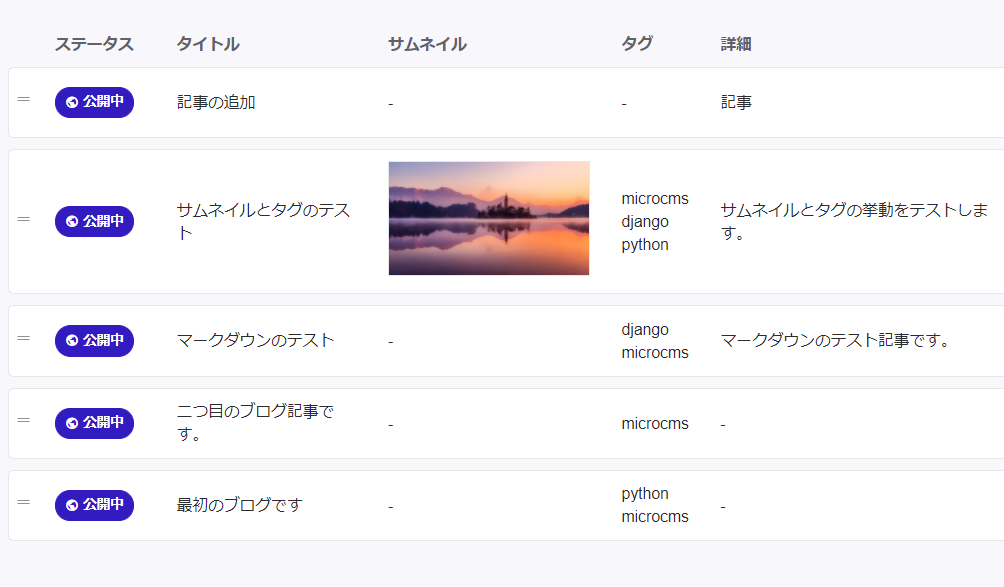
全部で5つ記事があり、タグはこのような状況です。
microCMSが4つ、Pythonが2つ、Djangoが2つの記事ですね。
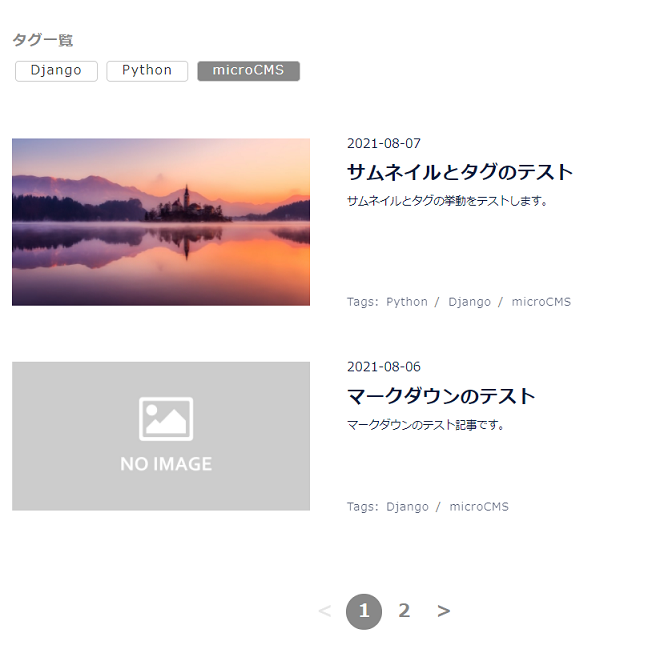
microCMSを選択した状態です。
4つあるので2ページ分の表示ですね。
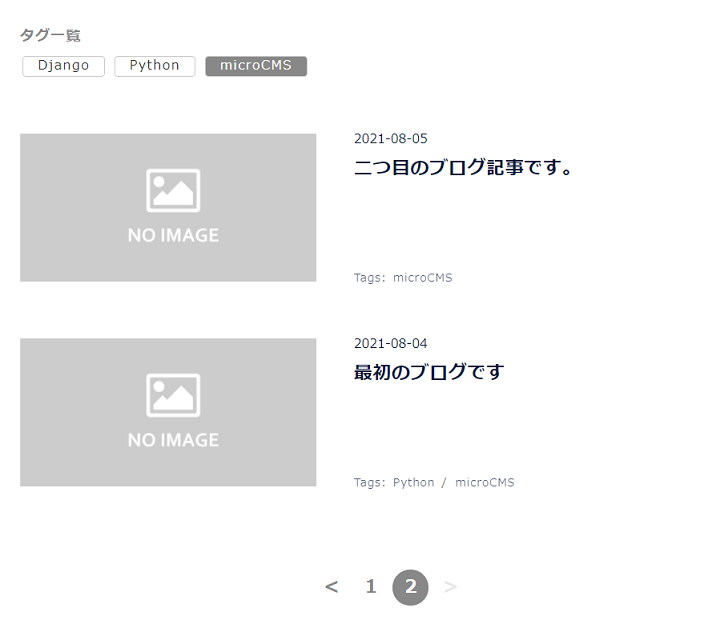
ページャーの2をクリックするとmicroCMSの絞り込みが保持されたまま、ページ送りがされます。

Pythonは2つだけなので、1ページ分のみの表示です。
タグが増えても横スクロールで見られるようになります。
最低限の機能を備えたので、次回は静的サイト配信の準備をしていきます。
 Share
Share